Radius
Cabinet Photo Essay
Overview
Article Contents:
- Section #1 - Overview
- Section #2 - Forms and Bending
- Secton #3 - Fabrication
- Section #4 - Installation
The following
photo article is an attempt to share what I learned
on a
job that I did a number of years ago. It was probably the most challenging
cabinet
job I ever did, from fabrication to installation - and was one of the
most fun as well.
I haven't been back to take pictures of
the finished installation yet, but
hope to post some here soon to give a better idea of the whole job. In
the meantime, these shop pictures will have to suffice.

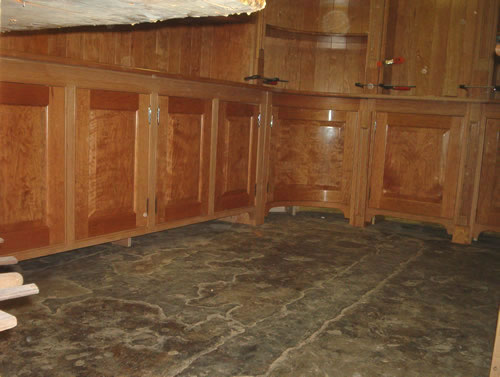
Lower Units as
Viewed from Under Workbench
My mission was simple. "I want cherry cabinets to wrap the room from
here to here, and I want the corner ones to be round. Raised panel
doors on the lower ones, and the upper ones I want rounded too. Raised
panel wainscotting on the other walls. I don't want any plywood and I
don't want a bunch of narrow boards glued together."The house was mid 1700's; "my" room ( 90"x 14' + or -) had floor to
ceiling heights varying by 4 inches. The open end of the horse shoe
forming the walls surrounding my cabinets was 3" wider than the
other end.
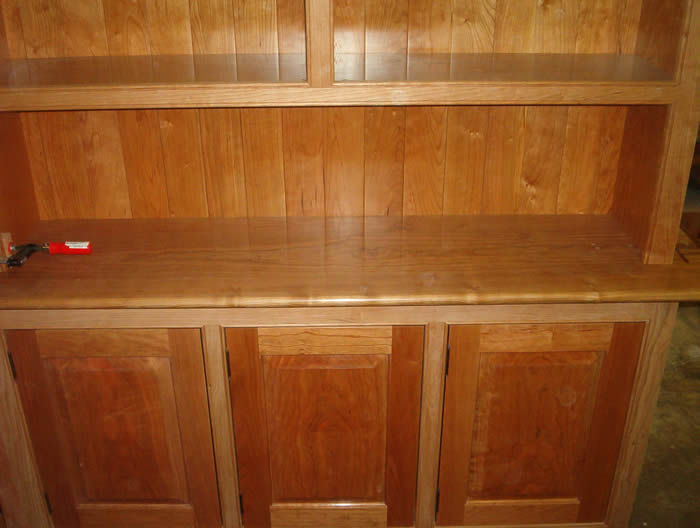
Center Door Panel from Bookmatched Stock
The gaps between adjacent stiles were covered with pilasters
(barely seen here) after installation. Without them the installation
might have continued almost indefinitely.

Owner Gets His W I D E Boards
Except for the curved doors and the big one between them, all the door
panels and wainscot panels were raised from single boards, adjacent
doors from the same board. The counter is one board 18 1/2" wide.
All sides and shelving (except the corner shelves) are one board.
As usual, Rick of Hearne Hardwoods, came through again with some
gorgeous cherry. He has a picture of his new band saw slicing a
walnut crotch on his home page. Really impressive - especially for a back
woods Pennsylvania hick like Rick. It is a definite "must check out" in
my opinion. Narrower boards were ripped for the backs. Expansion
problems are discussed later in the "Installation" section.

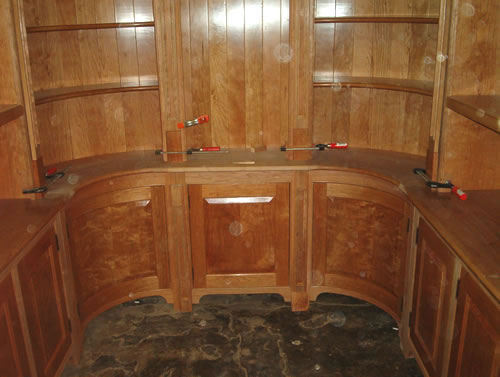
Upper Corner Unit - Fun Jackmiters
To save on material the backs were v-matched groove and groove with
splines rather than tounge and goove. The radius was cut on a Williams
and Hussey rather than a shaper. Back to Top | Next Page
Now to the meat of this thing, starting from the beginning.
#1 Bending and Clamping Section
#3 Staining and Installation Section
Video
Index: 10 Free Streaming Videos
No Fees, No Registration, No Cookies
( DSL or Cable connection required)
Aimed more toward interior trim and
tools than cabinetmaking.
